About WombatDialer Blog
Boost your Asterisk call-center productivity with the Next Generation in Predictive Dialling: WombatDialer!
Highly scalable, multi-server and easy-to-use platform.

Tags
18.08 - 20.02 - 21.06 - 23.12 - AMD - APIs - Asterisk - CSV - Dial - Docker - Elastix - FAX - IVR - JSON - Monitor - PBX - PBX in a flash - PIAF - QueueMetrics - Status - WombatDialer - automatic recall - blacklist - call back - call center - campaign - contact centre - copy campaign - dialer - email notification - end points - handle peak - inbound calling - outbound - outbound calling - performance - power dialing - predictive dialer - preview dialing - queue - recall - release - remote working - reverse dialing - social dialer - social media - telemarketing - voip

Copy Campaigns Panel Tutorial


This feature allows you to create a new campaign, using an existing campaign as a template.
The page prompts you to choose an existing campaign and loads its data. You can then modify some essential data, see the call lists connected to it, remove them , add some existing lists to it or, eventually, create new lists uploading them from a CSV file.
Finally, the page allows you to simply create the new campaign or, if you choose to, to create it and run it directly.
This panel allows you to create a new Campaign in just a few seconds, using an existing campaign as a template. This is very useful if your campaigns are very similar and vary slightly from one another, maybe just for the call lists to dial.
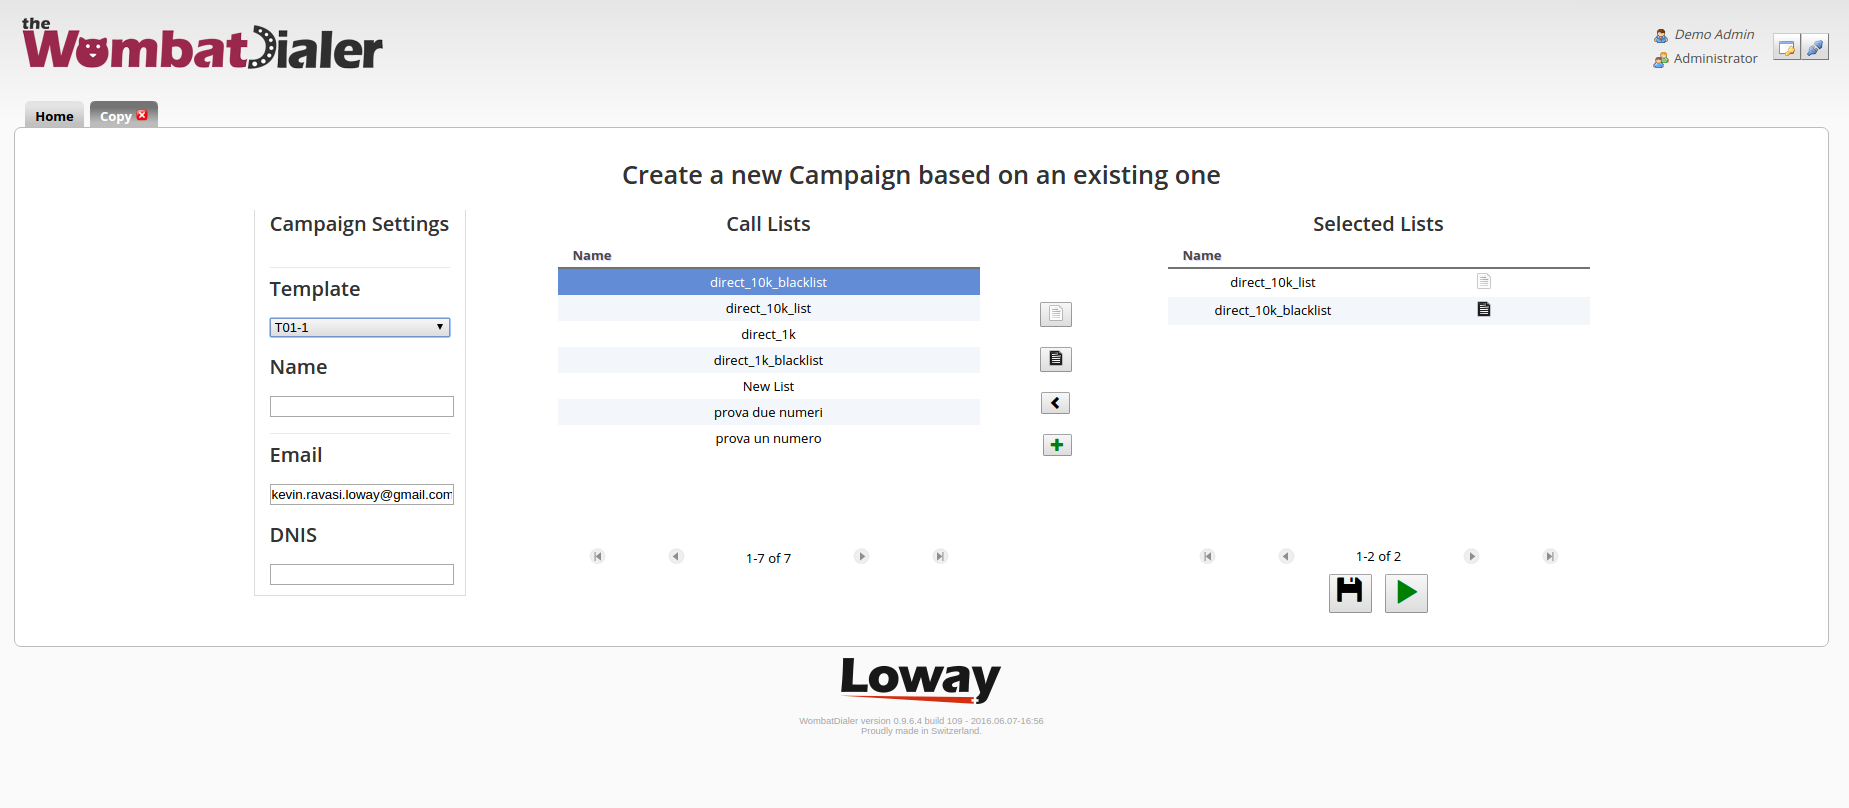
The left part of the screen is where you choose the template for your new campaign. Once you select a template, all the information from that campaign will be loaded. In the example we selected campaign T01-1, so WombatDialer loaded the selected E-mail bound to that campaign and the Call Lists attached to it, displaying them in the Selected Lists table on the right.
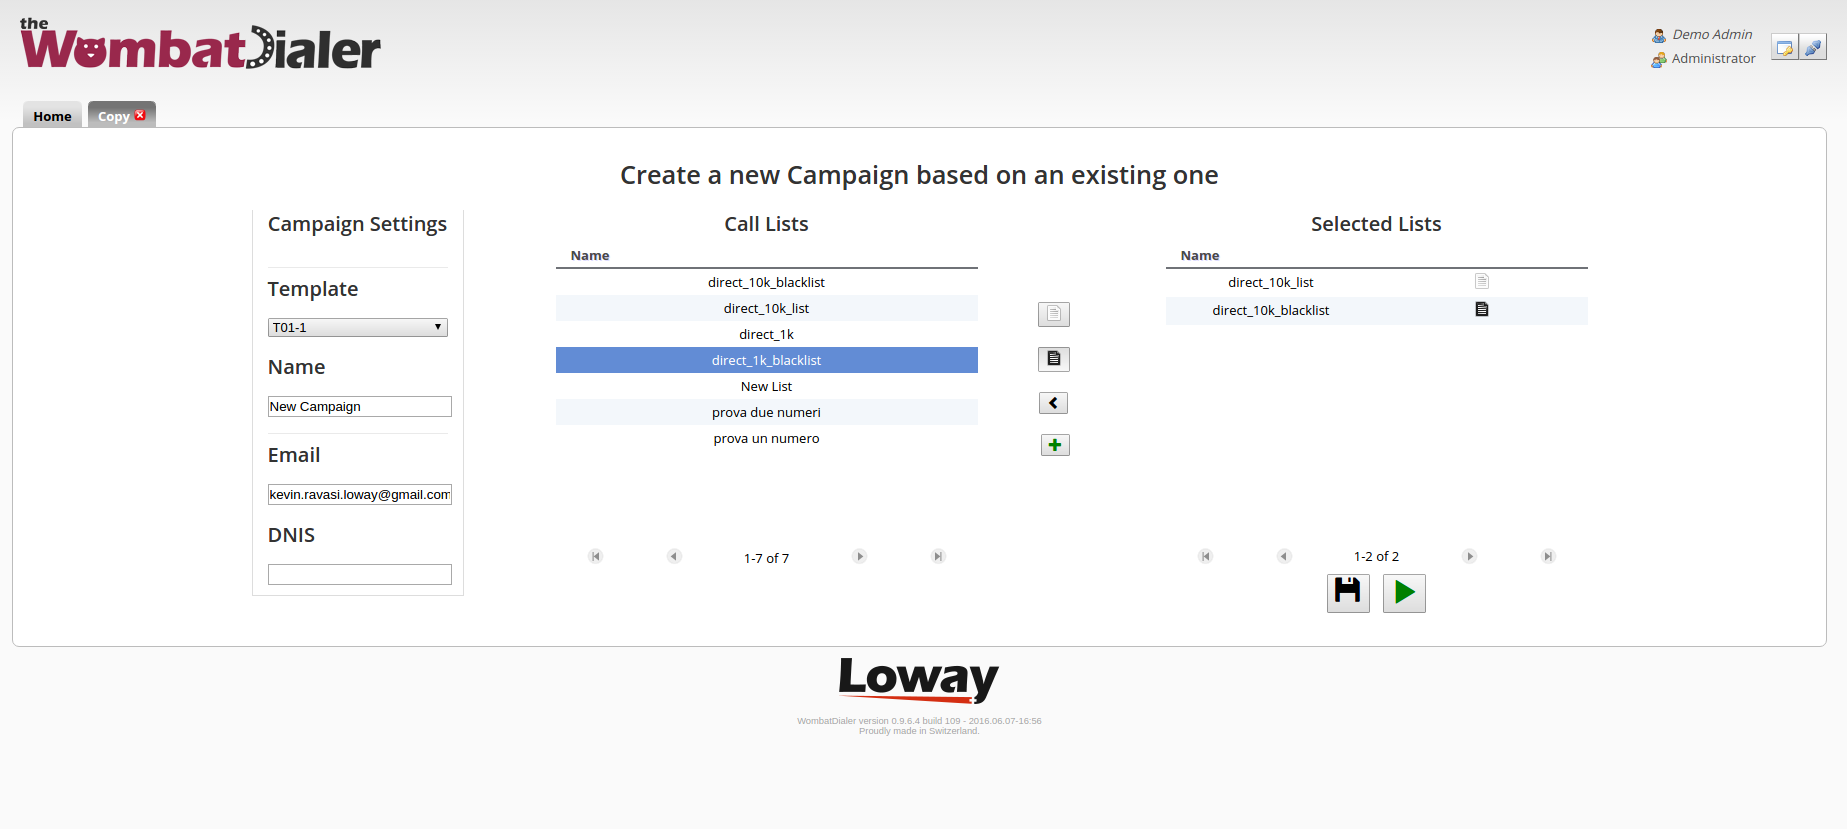
Now we need to choose a name for our new campaign, writing it down in the Name Text-Box under the Template menu. We can add or remove Call lists by using the buttons between the Call Lists table, that shows all the available call lists for our new campaign, and the Selected Lists Table.
The first button from the top (the “add as call list” button) adds to the selected lists table a list from the available lists table. To do that just select a list in the table on the left, then press the “add as call list” button. This will bind the selected list to our new campaign.

The second button from the top (the “add as blacklist” button) works exactly like the previous button. The only difference is that the list we choose will be treated as a blacklist and not as a normal call list.
The third button from the top (the “remove list” button) works if the opposite way of the first two buttons. This time we select a list we want to remove from the selected lists table and we press the button, this will remove a previously selected list from our new campaign.
The fourth button from the top (the “new list” button) allows you to create a new Call List from a CSV file. Once you have set up all the information for your new campaign, you can decide if you just want to save it without running it or if you want to save it and run it directly.
To save your campaign without running it, press the “Save” button (floppy disk), which is the first button of the two buttons at the lower right of the screen.
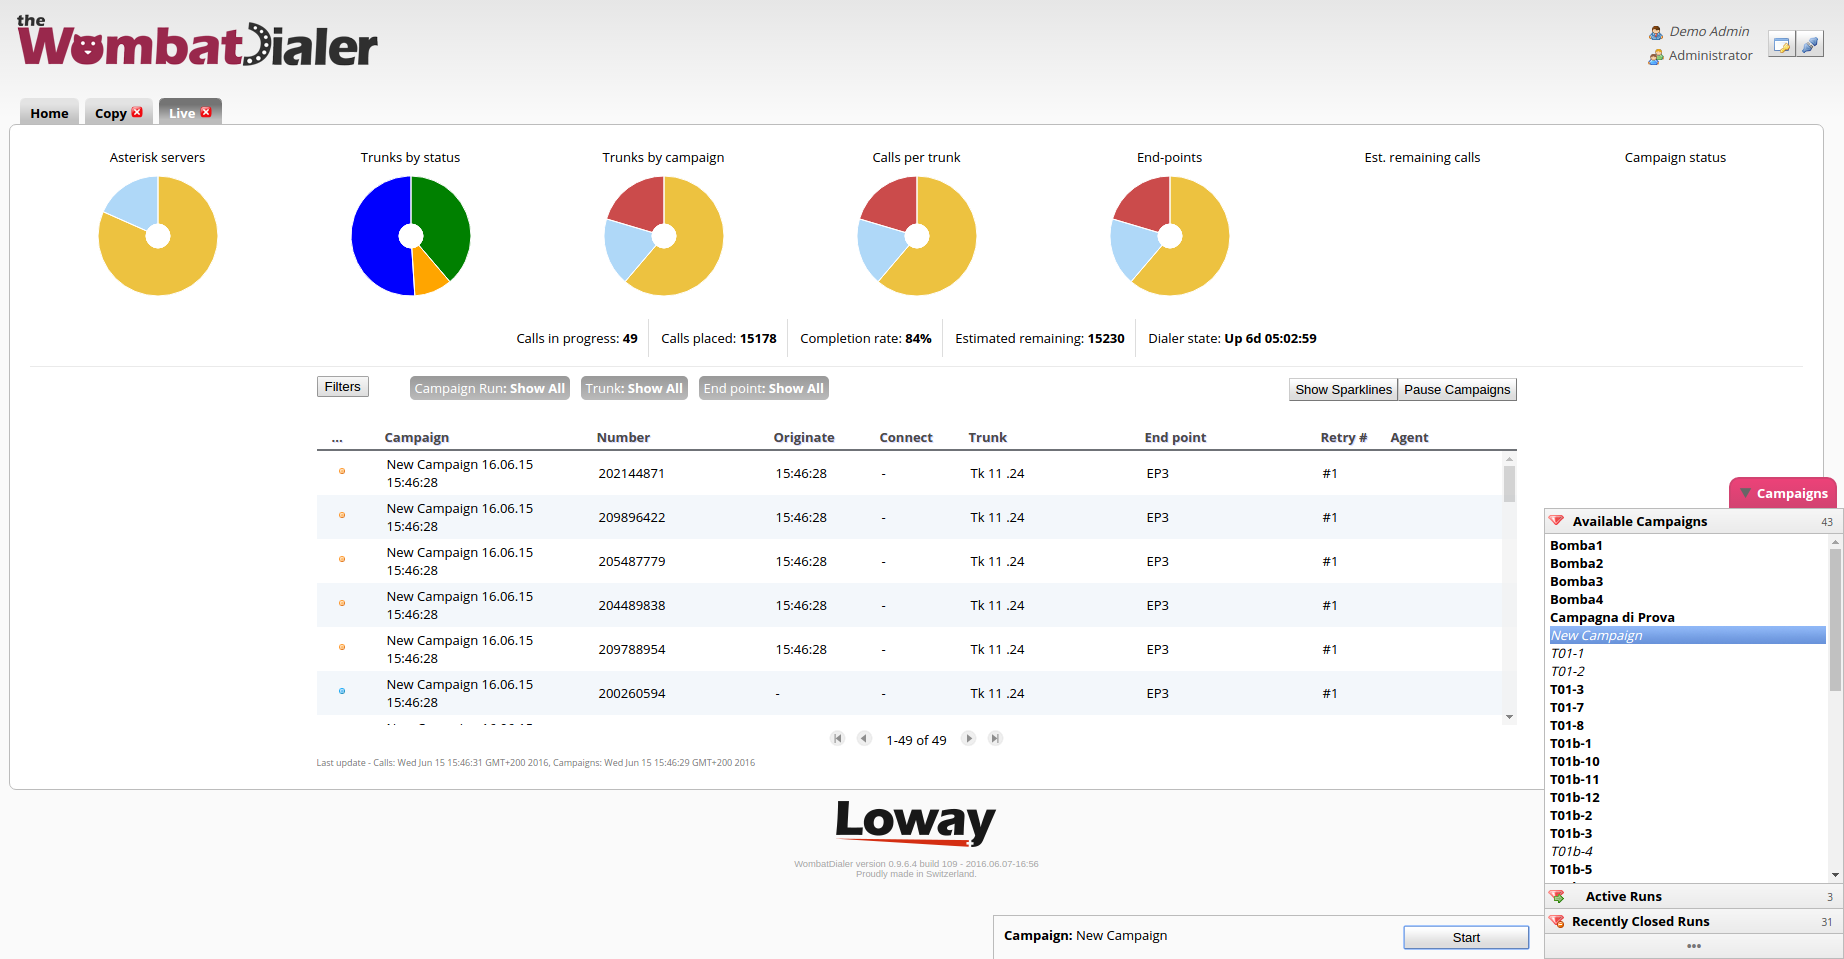
To save your campaign and run it directly press the “Save and Run” (play button), which is the second button of the two button at the lower right of the screen; this will open the Live Panel automatically.
This is all for this tutorial, make sure to check out WombatDialer’s other tutorials!
WombatDialer References:
For more technical information about WombatDialer call center solution please refer to the User Manual.
Visit https://www.wombatdialer.com/ for a 30 days full featured trial.
Attend our Free Webinars for a live demonstration of WombatDialer.